 how-to
UTV Parts Fitment Guide: Avoid Ordering Mistakes
Table of Contents
- Why UTV Parts Fitment Errors Happen Online
- Gather Your UTV's Key Details Before You Order
- UTV OEM Part Number Lookup: The Gold Standard for Fitment
- Using VIN to Find UTV Parts: A Step-by-Step Tutorial
- Common UTV Fitment Mistakes to Avoid
- Visual Verification Techniques: Don't Trust the Photo Alone
- Return Policies and Restocking Fees: What to Check Before You Buy
- Conclusion
- Frequently Asked Questions
Last Updated: September 20, 2026
Why UTV Parts Fitment Errors Happen Online
Ordering the wrong part usually starts with one bad assumption: that your machine is "standard." UTV parts fitment errors happen because most side-by-sides share a model name but differ underneath. Two machines can wear the same badge and still use different brake calipers, axles, or suspension arms.
- Model names are broad labels, not build sheets
- Trim levels and drivetrains change what bolts on
- Online listings often reuse one photo across many years
- "Universal" fitment claims rarely hold up
Gather Your UTV's Key Details Before You Order
Write down your machine's full identity before you shop. The more you record now, the fewer returns later.
Start with these basics:
- Model year (the exact year, not the generation)
- Make and model (full name, including sub-model)
- Trim level (base, sport, limited, and so on)
- Drivetrain (2WD or 4WD, plus engine size)
- VIN (your best tool, covered below)
Decode Your VIN for Exact Model and Trim
Your vehicle identification number is the factory's own record of your build, removing guesswork about year, model, and trim.
- Characters 1-3: the manufacturer and country
- Characters 4-8: model, body, and engine details
- Character 9: a check digit that validates the code
- Character 10: the model year
- Character 11: the assembly plant
- Characters 12-17: the production sequence
UTV OEM Part Number Lookup: The Gold Standard for Fitment
The most reliable way to get the right part is to look up the OEM part number first. OEM means original equipment manufacturer, the company that built your machine.
- Find your machine in the manufacturer's official parts catalog
- Select the exact year, model, and trim
- Open the diagram for the system you need (brakes, drivetrain, suspension)
- Click the part on the diagram to pull its number
- Copy the full number, including any revision letters
Cross-Reference Aftermarket Parts to OEM Numbers
Aftermarket parts are fine, but they must cross-reference to your OEM number. A good listing shows the OEM number it replaces.
| Verification Step | What to Check | Why It Matters |
|---|---|---|
| Model year | Exact year, not generation | Mid-year changes swap parts |
| Trim level | Base vs. sport vs. limited | Brakes and arms differ |
| Drivetrain | 2WD vs. 4WD, engine size | Axles and mounts change |
| OEM number | Full code with revisions | Confirms exact fit |
| Bolt pattern | Hole count and spacing | Prevents mounting errors |
Using VIN to Find UTV Parts: A Step-by-Step Tutorial
Using your VIN to find UTV parts turns a guess into a confirmed match, the single most reliable method for online orders.
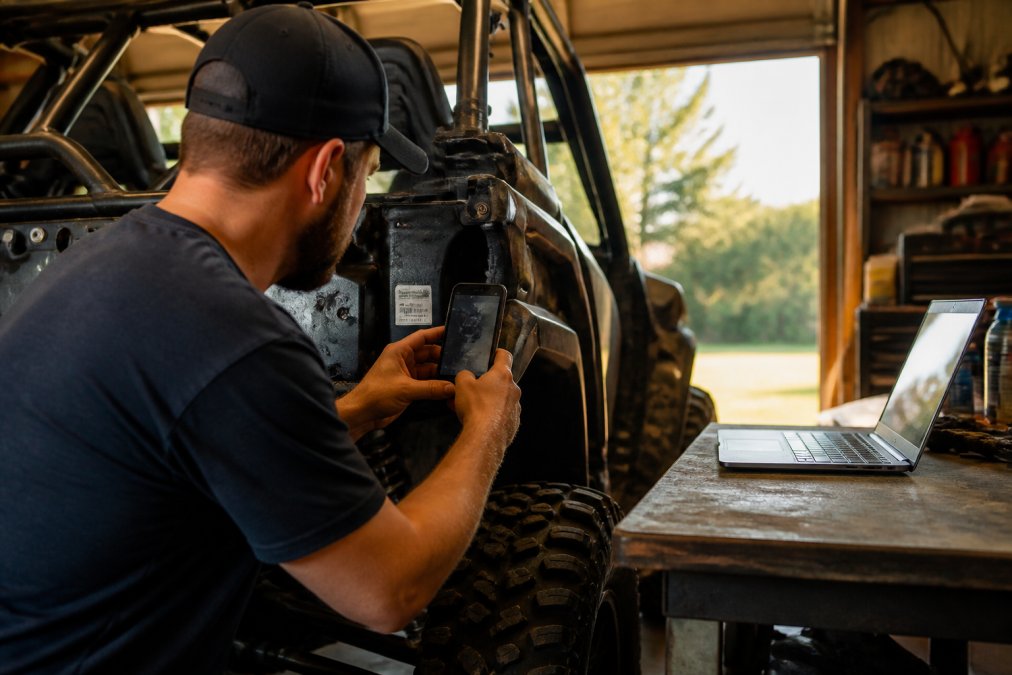
Follow these steps:
- Locate your VIN. Check the frame near the driver's side, plus the door jamb sticker.
- Decode it. Run the code through a VIN decoder to confirm year, model, and trim.
- Open the official parts catalog. Enter your machine's details or the VIN itself.
- Select the exact system. Choose the diagram for the part you need.
- Pull the OEM number. Click the part to copy the full number.
- Search that number. Use it to find OEM or cross-referenced aftermarket options.
- Confirm the seller lists your number. If it is missing, do not buy.
Common UTV Fitment Mistakes to Avoid
Most wrong orders trace back to a handful of repeat mistakes. Each one below pairs the error with the check that catches it.
- Trusting the photo alone. Sellers reuse one image across model years and trims. A 2020 base-model caliper photo may sit on a 2023 sport trim listing where the caliper, bracket, and line fitting differ. Check the OEM number, not the image.
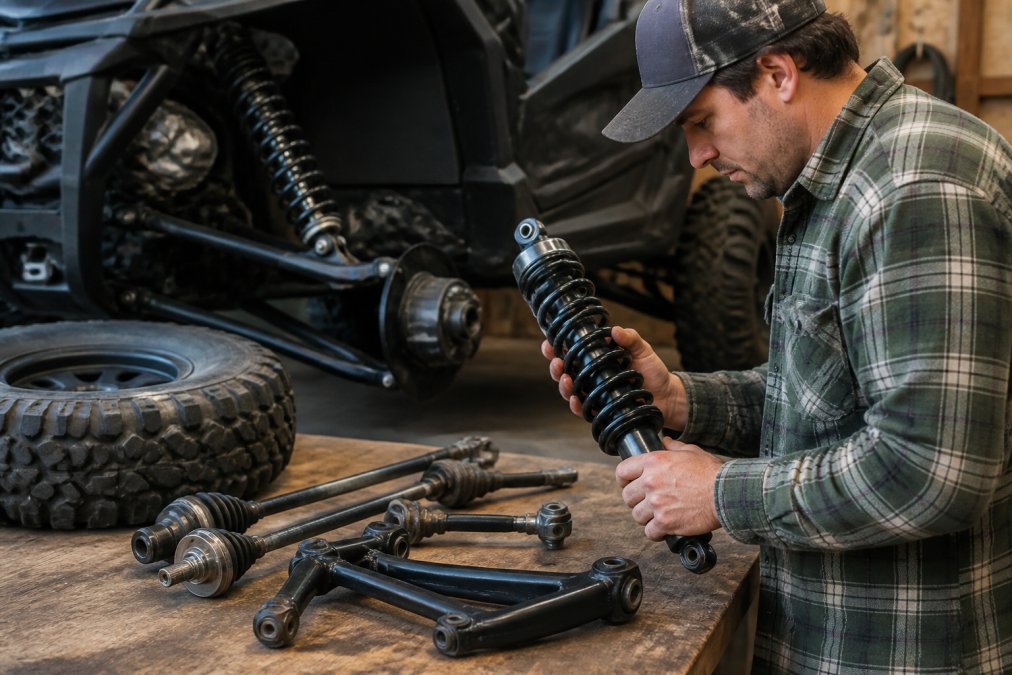
- Ignoring trim level. Base and sport trims can use different A-arms, shocks, and sway bar links. Trim changes spring rates, shock lengths, and mounting points, so a part that bolts to one may not clear the other.
- Assuming "universal" means yours. Universal usually means "fits a range with adapters or shims." That range often excludes your machine's offset, bolt pattern, or connector type. Treat universal as a starting point, not a confirmation.
- Skipping the OEM number. Descriptions are marketing copy; numbers are factory fact. If a listing does not show the OEM number it replaces, you have no way to verify the match.
- Forgetting drivetrain differences. 2WD and 4WD axles, differentials, and mounts are not interchangeable, a 4WD front axle is longer and uses a different inner joint than the 2WD version.
- Ordering by model name only. The model name is a label, not a build sheet. Two machines with the same badge can carry different engines, transmissions, and suspension geometry.
- Mixing up left and right. Many suspension and brake parts are side-specific. A left lower control arm will not fit the right side even though it looks similar in a photo.
- Overlooking mid-year running changes. Manufacturers revise brackets, suppliers, and drivetrain components without renaming the vehicle, so a part that fits an early 2022 build may not fit a late 2022 build.
- Buying on price before checking the number. The cheapest listing often has the thinnest fitment data; a few dollars saved up front can become return shipping and a restocking fee later.
- Assuming aftermarket equals OEM fit. Aftermarket parts vary in tolerance and mounting design. A cross-reference to your OEM number is the only reliable confirmation.
Visual Verification Techniques: Don't Trust the Photo Alone
A product photo can confirm a part, but only if you compare it correctly. Do not trust the image by itself.
Use these visual checks:
- Count the mounting holes. Match the bolt pattern to your old part.
- Measure the key dimensions. Compare wheel diameter, offset, and backspacing where relevant.
- Check the connector and fittings. Plugs, ports, and line sizes must match.
- Compare the shape. Brackets and arms have distinct curves and angles.
- Lay the new part beside the old one. If you still have it, this catches most errors.
Return Policies and Restocking Fees: What to Check Before You Buy
Most fitment guides stop at prevention, leaving out the financial side of a wrong order. A bargain part can become the most expensive option once return shipping and a restocking fee are added, so read the policy before you pay.
The Real Cost of a Wrong Order
When a part does not fit, you typically face three costs stacked together:
- Outbound shipping you already paid and will not get back.
- Return shipping, which many sellers put on the buyer.
- A restocking fee, often a percentage of the part price, charged when the item is opened or the packaging is damaged.
A Return-Friendly Shopping Checklist
Before you add a part to your cart, confirm these terms on the listing or the seller's policy page:
- Return window. How many days from delivery do you have? Shorter windows leave less time to test-fit.
- Restocking fee. Is there one, and what percentage applies? Is it waived if the part is unopened?
- Opened vs. unopened rules. Many sellers charge a higher fee or refuse returns once packaging is opened.
- Electrical and special-order items. These are frequently final sale. Confirm before buying.
- Return shipping responsibility. Who pays, and does the seller provide a label?
- Condition requirements. Original packaging, all hardware, and instructions are often required.
- RMA process. Do you need prior authorization and a return number before shipping?
- Refund vs. store credit. Some sellers refund; others issue credit only.
How to Shop for a Policy, Not Just a Part
When two listings carry the same part at similar prices, the return policy is the tiebreaker. A slightly higher price with a clear, no-restocking-fee return window can be cheaper if fitment goes wrong; a lower price with a final-sale clause and buyer-paid return shipping is the riskier bet.
Electrical components, special-order parts, and items cut or modified to order are commonly non-returnable. If you are unsure about fitment on one of these, confirm the OEM number with the seller in writing before you buy. ::: Securing the correct component the first time highlights the long-term benefits of OEM parts by minimizing the need for repeated mechanical interventions.
Test-Fit Before You Commit
If the part arrives and you are not certain, do a dry fit before final installation: mount it loosely, check bolt patterns, clearances, and connector alignment, then torque it down. Once a part is installed, driven on, or modified, most sellers will not accept a return, the dry fit is your last low-cost checkpoint.
Conclusion
Wrong fitment is frustrating but almost always preventable. The pattern is simple: confirm your machine's exact build, pull the OEM number, cross-reference any aftermarket part, and read the return policy before you order.
Frequently Asked Questions
What information do I need to have ready before ordering UTV parts?
Before ordering, gather your UTV's year, make, model, and trim level. Locate the VIN, usually on the frame near the front wheel or under the hood. Have your OEM part number if replacing an existing part. Note any aftermarket modifications like lift kits or larger tires, as these change fitment. Check your owner's manual for stock specifications. Having these details ready prevents ordering errors and ensures you get the right part the first time.
How does 'confirmed fit' technology work on parts websites?
Confirmed fit tools use your vehicle's year, make, model, and sometimes VIN to filter compatible parts. They cross-reference manufacturer data and aftermarket catalogs. However, these tools aren't foolproof. They may not account for modifications or mid-year changes. Always verify the part number against your OEM specifications and check the return policy. Treat confirmed fit as a starting point, not a guarantee.
Are aftermarket parts always compatible with stock UTV configurations?
No. Aftermarket parts vary in quality and fitment. Some are designed as direct replacements, while others require modifications. Always cross-reference the aftermarket part number with your OEM part number. Check if the part is designed for your specific model year and trim. Read reviews for fitment issues. When in doubt, contact the seller's technical support with your VIN to confirm compatibility before purchasing.
How can I tell if a part is compatible with my specific UTV model year?
Check the part's compatibility list for your exact model year. Manufacturers sometimes change parts mid-year, so verify by VIN. Use OEM parts catalogs to find the correct part number for your year. Cross-reference aftermarket parts to that number. Visually compare the part to the original if possible. If unsure, ask the seller for the part's technical specifications and compare them to your vehicle's requirements.