 how-to
How to Verify Powersports Part Fitment: 2026 Guide
Table of Contents
- Why Fitment Verification Saves You Money and Keeps You Safe
- Start With Your VIN: How to Find Motorcycle Parts by VIN
- Powersports OEM Parts Lookup: Matching Part Numbers to Your Machine
- OEM vs. Aftermarket Fitment: What Actually Changes
- Checking Trim Levels, Sub-Models, and Mid-Year Production Changes
- Visual Inspection, Measurement, and Service Manuals
- Common Powersports Fitment Mistakes and How to Avoid Them
- Conclusion
- Frequently Asked Questions
Last Updated: September 22, 2026
Why Fitment Verification Saves You Money and Keeps You Safe
Getting powersports part fitment wrong is the most common and costly mistake in powersports ownership. A part that looks right on screen but does not fit means wasted money, lost riding time, and sometimes a safety risk.
Start With Your VIN: How to Find Motorcycle Parts by VIN
Your Vehicle Identification Number is the single most reliable tool for getting the right part. The VIN is a 17-character code stamped on your frame and printed on your title and registration. It encodes your machine's exact build, including details a generic "fits most models" listing will never capture.
Reading the 10th Digit for Model Year
The 10th character of your VIN tells you the model year. Manufacturers often change parts between model years, even on machines that look identical, so a part that fits a 2022 model may not fit a 2023. Always confirm the model year from the VIN, not from memory.

Decoding Chassis Codes and Engine Displacement
Beyond the model year, your VIN and chassis code reveal engine displacement and sub-model details. Chassis codes group machines with the same frame and engine. If a listing asks for a chassis code, do not guess; find it in your owner's manual or on a frame sticker.
Powersports OEM Parts Lookup: Matching Part Numbers to Your Machine
A powersports OEM parts lookup works by matching a manufacturer part number to your exact machine. OEM stands for original equipment manufacturer, meaning the part is built to the same spec as what came on your vehicle from the factory.
Here is how to run a clean lookup:
- Pull your VIN and model year.
- Find the exploded assembly diagram for your machine.
- Locate the component on the diagram.
- Copy the part number exactly, including any dashes and letters.
- Cross-check the number against your machine's specifications.
OEM vs. Aftermarket Fitment: What Actually Changes
Aftermarket parts can fit perfectly, or they can miss by a hair. OEM parts match factory dimensions by design; aftermarket parts vary by brand, so fitment depends on the maker's quality control.
Where Aftermarket Parts Actually Diverge
Fitment problems rarely come from the main body of a part. They cluster in a few predictable places:
- Mounting points and bolt patterns. A bracket may use the same hole spacing but a different bolt diameter, or shift a tab by a few millimeters to clear a larger aftermarket exhaust.
- Hardware and fasteners. Aftermarket kits often ship with their own bolts, spacers, or bushings because the OEM hardware will not seat correctly.
- Clearances. A wider radiator, a taller shock reservoir, or a larger brake caliper can interfere with bodywork, the swingarm, or the chain guard even when the mounting holes line up.
- Electrical connectors. Aftermarket lighting, ECU tuners, and gauge clusters frequently use different pinouts or plug shapes, requiring an adapter harness.
- Splines, seals, and bearing sizes. Axle and driveshaft splines, fork seal diameters, and wheel bearing IDs are common mismatch points that a photo will not reveal.
Cross-Referencing Part Numbers Across Brands
Most guides assume you are shopping one brand, but many riders cross-shop, and the same component is often sold under multiple part numbers. A few habits make cross-referencing reliable:
- Start from the OEM number, not the aftermarket number. The OEM number is the anchor. Aftermarket makers publish their own cross-reference charts that map back to it.
- Use manufacturer-published interchange lists. Many aftermarket brands publish a fitment chart that lists the OEM numbers their part replaces. Treat that chart as the source of truth, not a marketplace filter.
- Verify by dimension, not by name. If two parts share a name but differ in length, thread pitch, or spline count, they are not interchangeable regardless of what a listing says.
- Watch for superseded numbers. Manufacturers retire old part numbers and issue replacements. A discontinued number may map to a current one that fits the same application.
The Modification Trap
This is the fitment issue most guides skip. Once you change a major component, the factory fitment chart no longer describes your machine.
- Exhaust systems can move or eliminate mounting tabs, change the clearance around the swingarm, and require different gaskets or flanges.
- Suspension upgrades change ride height, spring rate, and sometimes the upper and lower mount geometry, which affects anything that bolts to the fork or shock.
- Lift kits, lowering links, and wheel swaps alter the relationship between the swingarm, chain, fender, and brake caliper.
- Engine and ECU modifications can change intake and exhaust routing, which cascades into bodywork and bracket fitment.
A Practical Pre-Purchase Checklist
Before you add any aftermarket part to a cart, confirm:
- The listing names your exact model, year range, and sub-model.
- The listing states whether OEM hardware is reused or replaced.
- The listing discloses any required adapters, spacers, or harnesses.
- The listing discloses any modification required to install.
- The return policy covers incorrect fitment, and you know the window.
Checking Trim Levels, Sub-Models, and Mid-Year Production Changes
Two machines can share a name and still use different parts. Trim levels and sub-models change suspension, brakes, and bodywork, and manufacturers sometimes make mid-year production changes, swapping a component without changing the model name.
Genuine Honda 32660-894-BCX12H DC →
| Verification Method | Best For | Effort Level | Accuracy |
|---|---|---|---|
| VIN lookup | Exact model and year | Low | Highest |
| Part number match | Confirming a specific part | Low | High |
| Assembly diagram | Finding the right component | Medium | High |
| Visual measurement | Aftermarket and vintage parts | High | High |
| Chassis code check | Sub-model differences | Medium | High |
Visual Inspection, Measurement, and Service Manuals
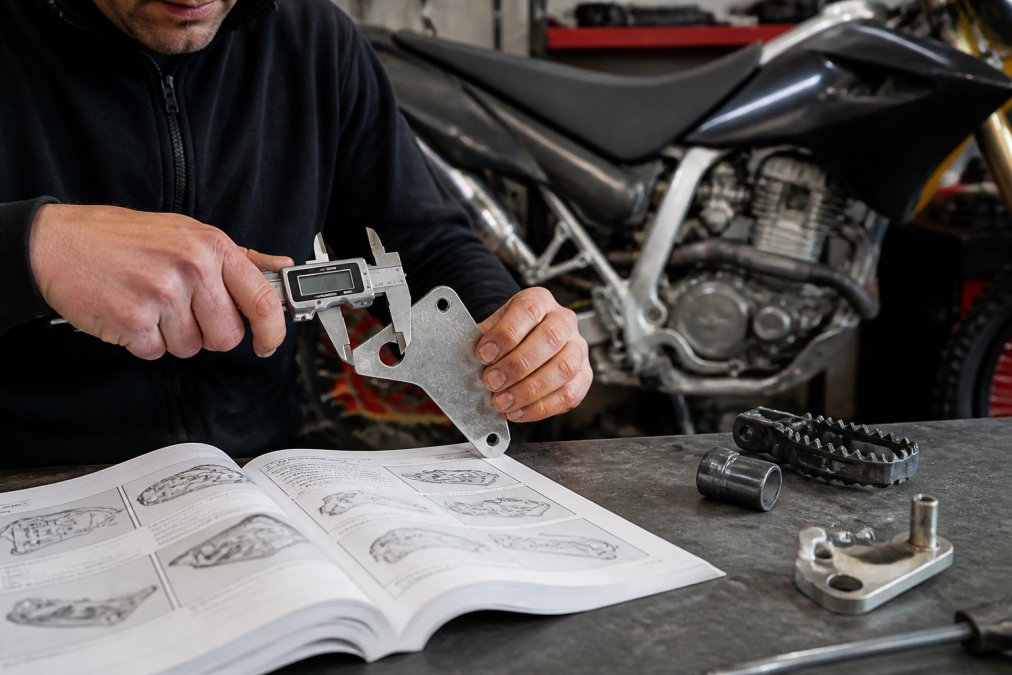
When numbers and listings leave doubt, your eyes and a tape measure settle it. Visual inspection and measurement confirm what a listing claims, and matter most for aftermarket parts, discontinued items, and vintage machines where records are thin.
What to Measure, and How
A caliper alone is not enough. You need to know which dimensions actually govern fitment. The measurements that matter most:
- Bolt hole spacing (center-to-center). Measure from the center of one hole to the center of the next, not edge to edge. This is the single most common source of "it almost fits."
- Bolt diameter and thread pitch. A hole that accepts the bolt is not the same as a hole that accepts the correct bolt. Thread pitch gauges are inexpensive and settle this in seconds.
- Overall length and width. Useful for levers, cables, hoses, and bodywork panels where a few millimeters change routing.
- Spline count and shaft diameter. For axles, driveshafts, and shift shafts, count the splines and measure the shaft OD. A mismatch here is not adjustable.
- Seal and bearing IDs and ODs. Fork seals, wheel bearings, and crank seals are sized by inner and outer diameter plus thickness. All three must match.
- Mounting angle and offset. A bracket can have correct hole spacing and still sit at the wrong angle, which throws off cable routing or clearance.
Handling Discontinued and Vintage Models
This is where general parts-finder articles fall apart. For older machines, the OEM catalog may be gone, the part number may be superseded, and the only remaining sources are used, NOS (new old stock), or a small aftermarket maker.
A workable approach:
- Find the original part number first. Even if it is discontinued, the number is the key that unlocks cross-references, forum threads, and used listings.
- Search for superseded numbers. Manufacturers often replace a discontinued number with a current one that fits the same application. A dealer parts counter can often confirm the supersession.
- Use owner communities as a cross-reference, not as gospel. Enthusiast forums and model-specific groups frequently document which parts interchange across years. Treat those claims as leads to verify, not as final answers.
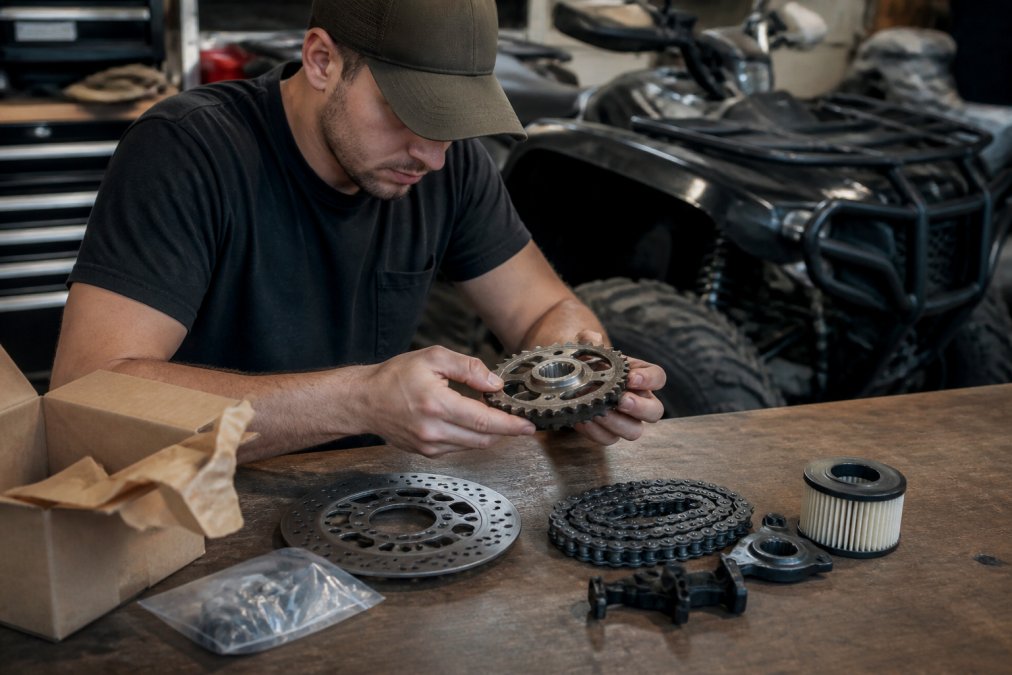
- Measure the original part before you shop. For vintage machines, the part on your bike is often the most reliable spec sheet you have. Photograph it next to a ruler and record the key dimensions.
- Buy from sellers who accept returns on fitment. For discontinued parts, this is non-negotiable.
Documenting Fitment for Returns
If a part does not fit, the difference between a smooth refund and a fight is documentation. Before returning anything:
- Photograph the part next to the original, with a ruler or caliper in frame.
- Photograph the mismatch itself: the bolt holes that do not line up, the spline that will not seat, the clearance that is not there.
- Save the listing page, including any fitment claims the seller made.
- Note the order number, the part number received, and the part number you ordered.
- Contact the seller in writing before shipping anything back, and keep the thread.
Common Powersports Fitment Mistakes and How to Avoid Them
Most fitment mistakes trace back to a few repeat offenders. Knowing them keeps you out of the return line.
- Trusting the model name alone. Sub-models and trim levels differ. Always confirm the exact build.
- Skipping the VIN. It is the fastest way to get it right. Use it every time.
- Ignoring mid-year changes. A production date check catches what a model year misses.
- Assuming aftermarket equals OEM. Verify dimensions and hardware before buying.
- Falling into the modification trap. If a part only fits "with modification," it may not suit your build or your warranty.
- Missing the return window. Check the return policy for incorrect fitment before you order, not after.
Conclusion
Getting the right part the first time comes down to a few habits: confirm your VIN, match the part number, and verify before you buy. That protects your wallet and your safety.
Frequently Asked Questions
How do I check if a part fits my powersports vehicle?
Start with your VIN, which encodes model year, chassis code, and engine displacement. Look up the OEM part number for your exact machine, then compare it against the part you plan to buy. Check the trim level and any mid-year production changes. If the numbers match and the mounting hardware and bolt pattern align, the part should fit. When in doubt, measure the old part and cross-reference it against a service manual schematic before ordering.
Can I use a VIN to find the correct powersports parts?
Yes. A VIN gives you the most reliable starting point for a powersports OEM parts lookup. The 10th digit identifies the model year, and the characters that follow identify the chassis code and engine displacement. With that information, a dealer or parts catalog can pull the exact assembly diagram for your machine. This is especially important for ATVs and side-by-sides where the same model name can span multiple sub-models with different components.
What is the difference between OEM and aftermarket part fitment?
OEM parts are built to the original equipment manufacturer's specifications for your exact model, so fitment is guaranteed when the part number matches. Aftermarket parts may fit multiple models or require minor modification. Some aftermarket brands publish their own cross-reference charts, but those charts can lag behind mid-year production changes. Always verify the aftermarket part's listed fitment against your VIN-derived model year and trim level, not just the model name.
What should I do if a part looks identical but has a different part number?
Do not assume it fits. A different part number can mean a different bolt pattern, a revised mounting bracket, or a change in material that affects load capacity. Cross-reference both numbers in a service manual or parts catalog to see if one supersedes the other. If the catalog shows a supersession, the newer number is the correct replacement. If not, the parts are not interchangeable, even if they look the same on the shelf.